Replace Decking On An Endeavour Series
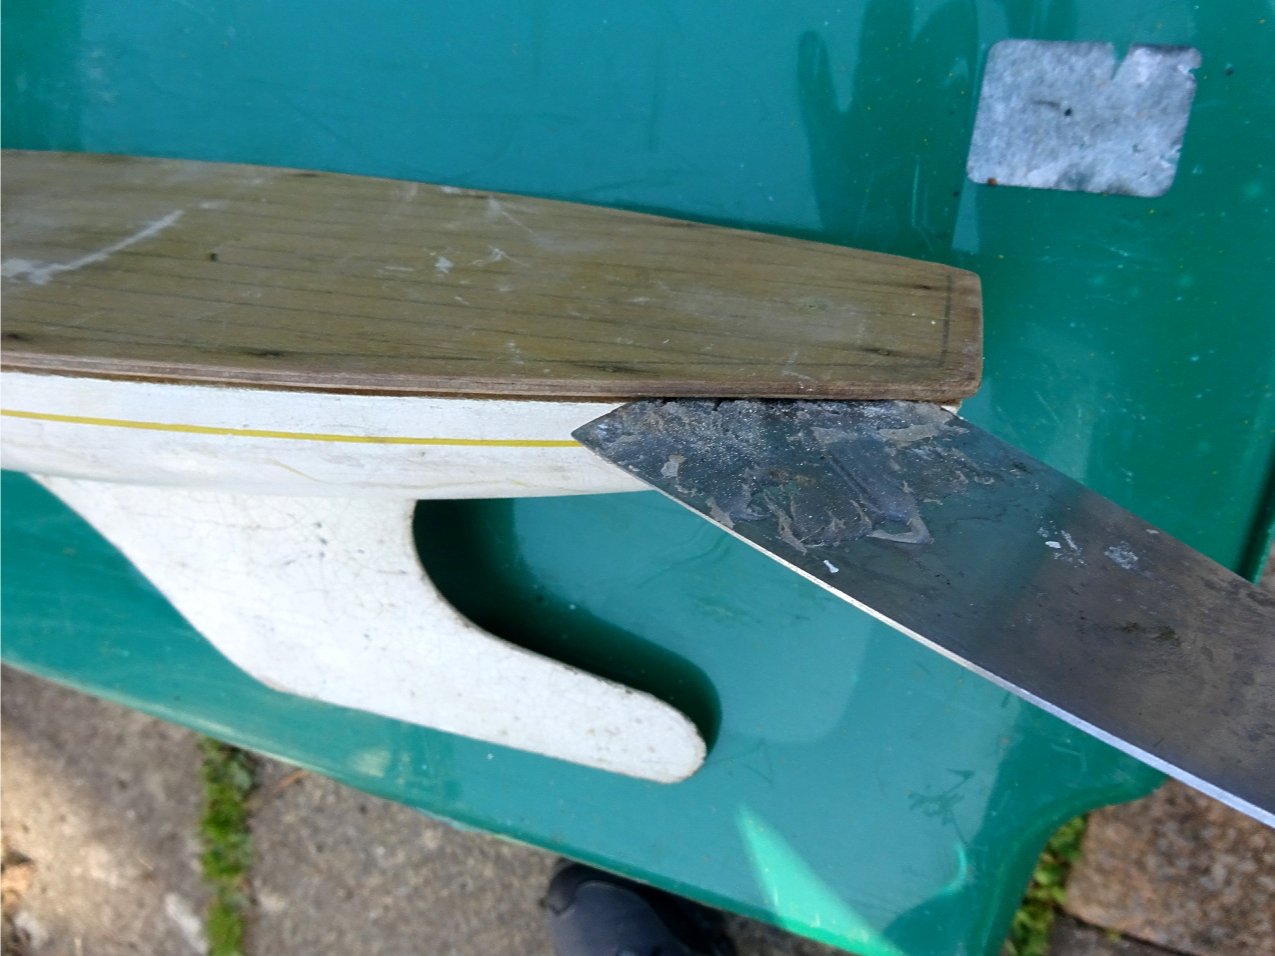
First prepare the hull, by removing the mast and spars along with the rigging, then unscrew all of the deck furniture. Lifting the deck is next. With a paint scraper, go around the hull to deck joint and score the paint to break it's hold. Starting at the stern, carefully ease a narrow paint scraper between the deck and hull and lift until the deck pins start to pull out of the hull, go along to the next gap between the deck pins and repeat the procedure, carry on along the hull one side then the other until the deck is free. Carefully retrieve all of the deck pins, if any remain in the hull, it is easy to extract them with pliers, note their size (Usually 13mm) and dispose of them safely. Clean up the hull face of any splinters or glue remnants.
Plywood for the deck should be 3mm thick birch ply, available in different sizes from sources online, Hobbies, eBay, etc.
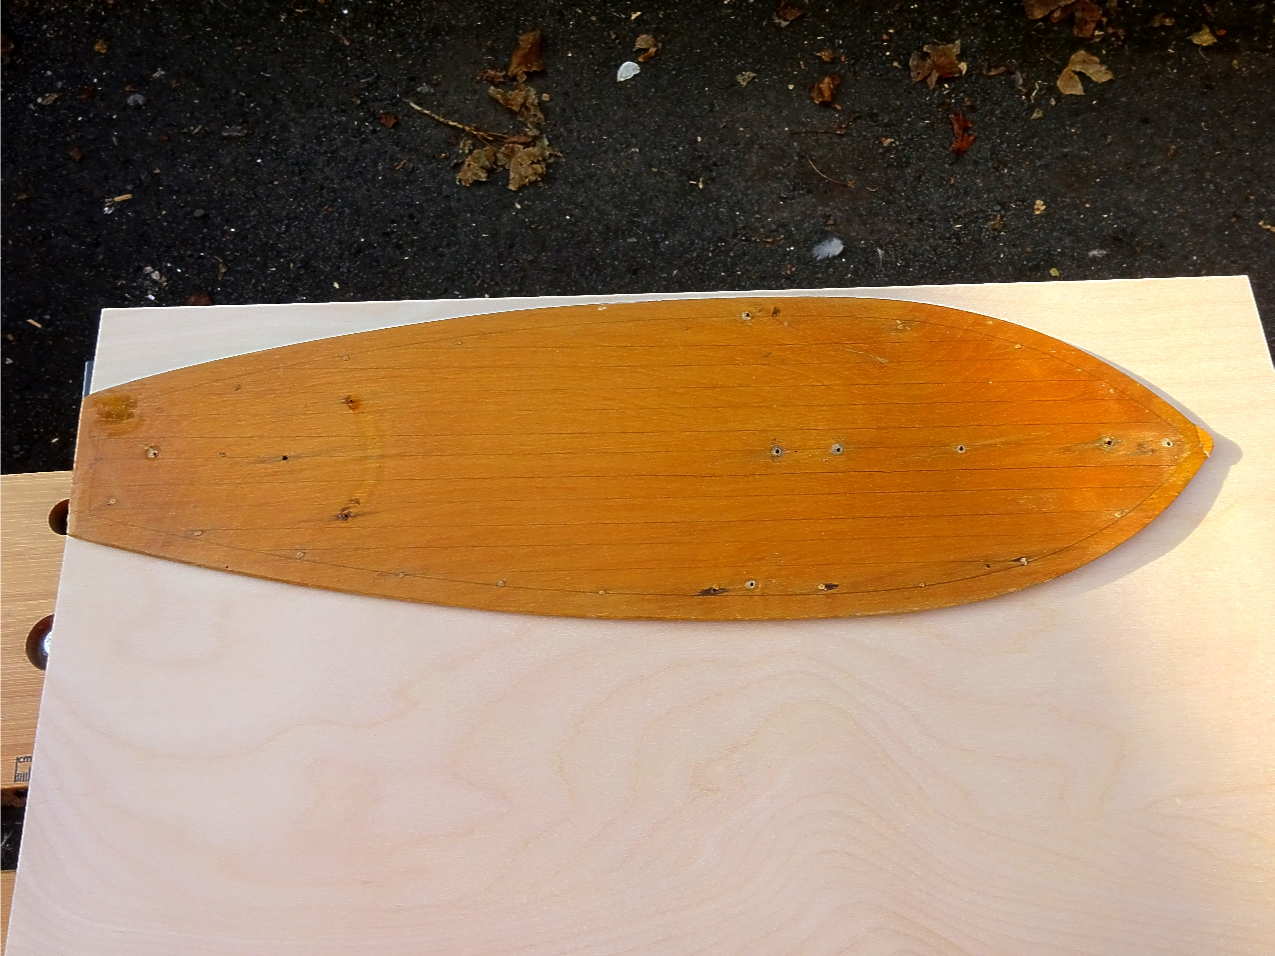
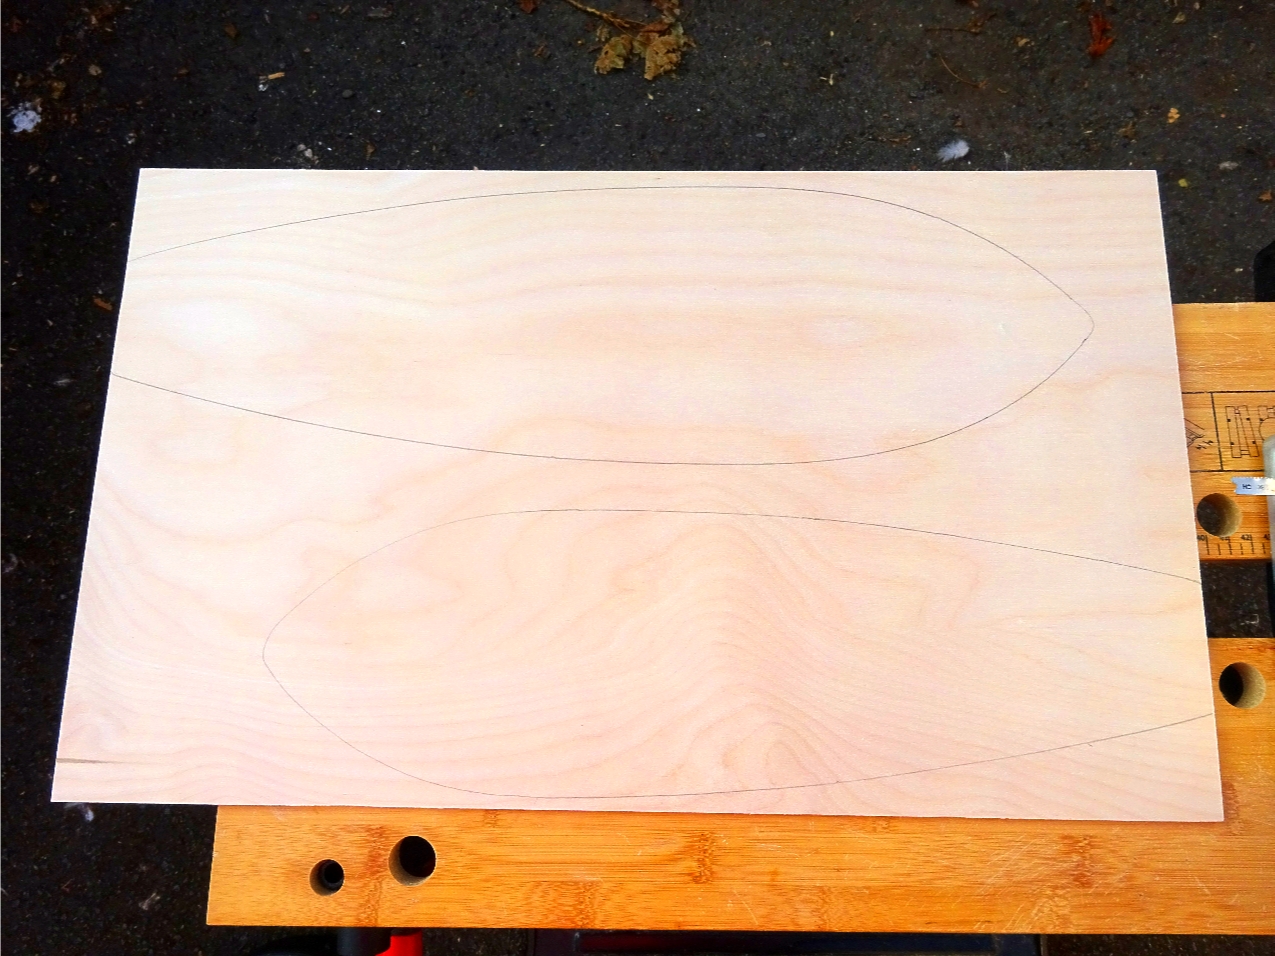
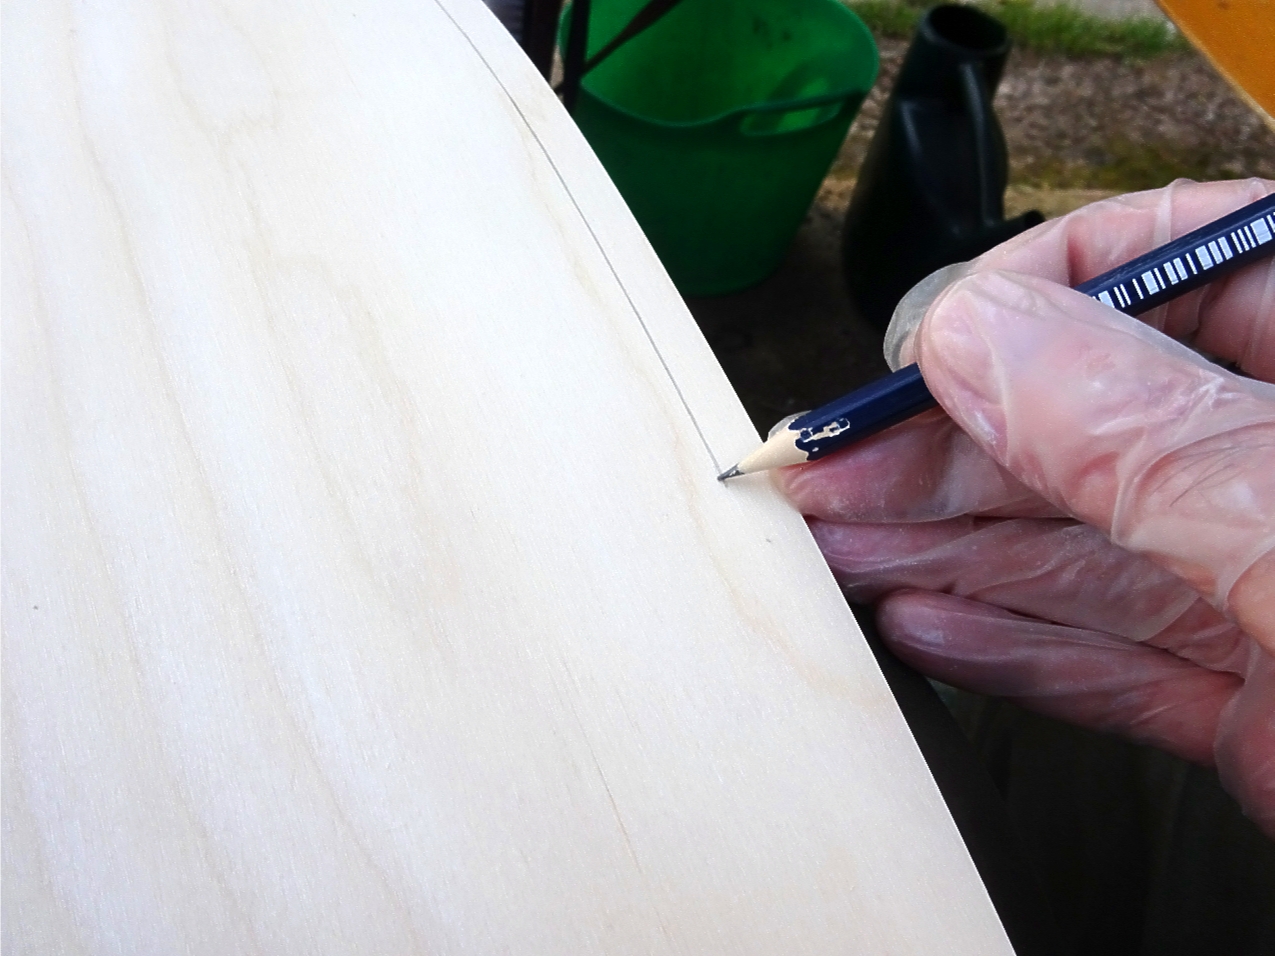
Place your removed deck onto the ply with the deck running lengthways along the grain of the sheet, the deck being replaced has a square stern so it was positioned with the rear of the deck onto the edge of the plywood making use of it's machine cut edge. Leave 15mm clearance to the edge of the ply sheet for cutting. Take a pencil and draw around the circumference of the deck.
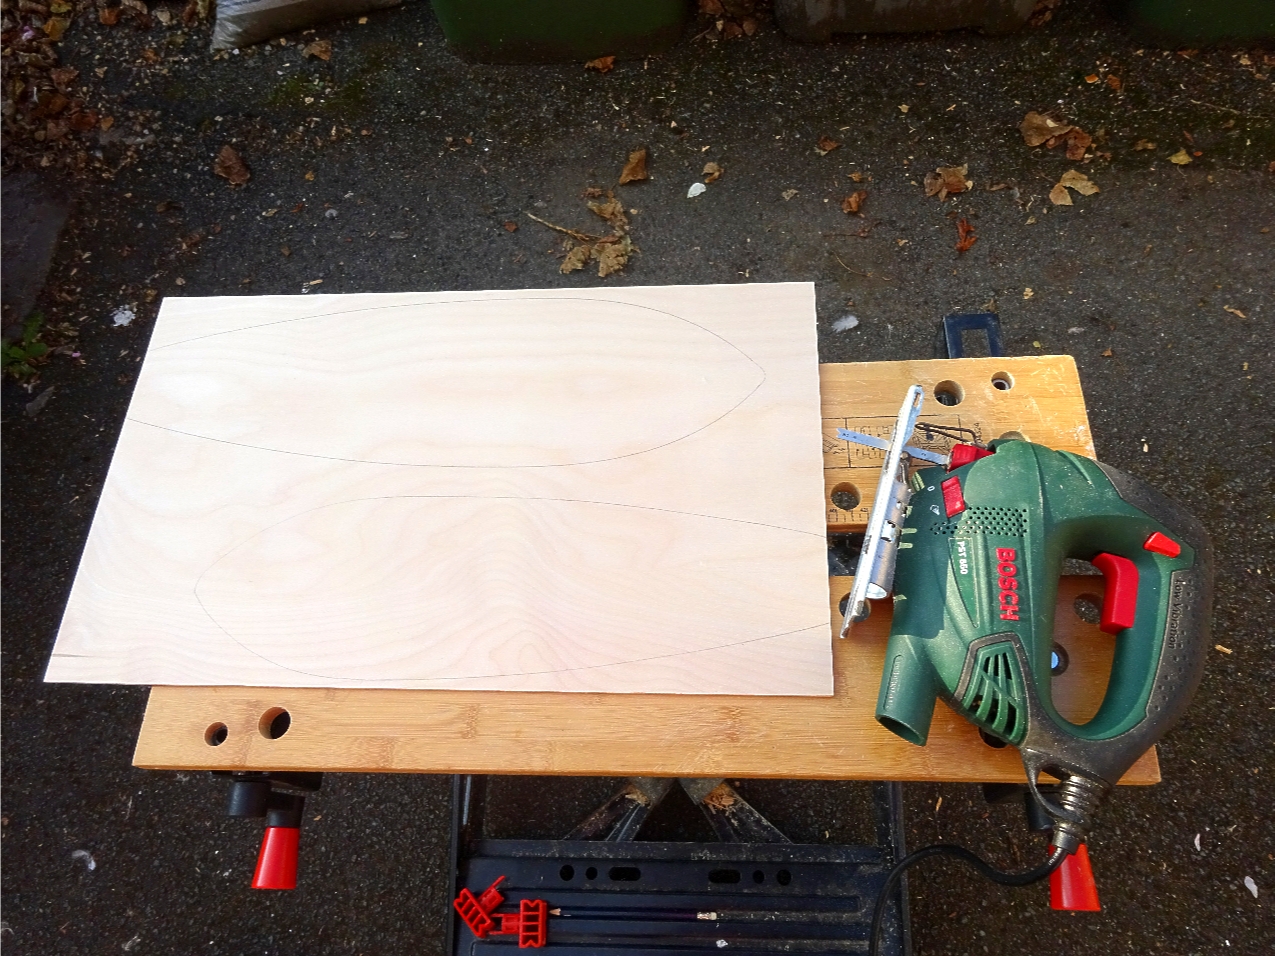
Now place your ply sheet on something sturdy, I used a workbench, using a jigsaw with a metal saw (Finer teeth), cut around the scribed shape leaving about 1cm extra oversize.
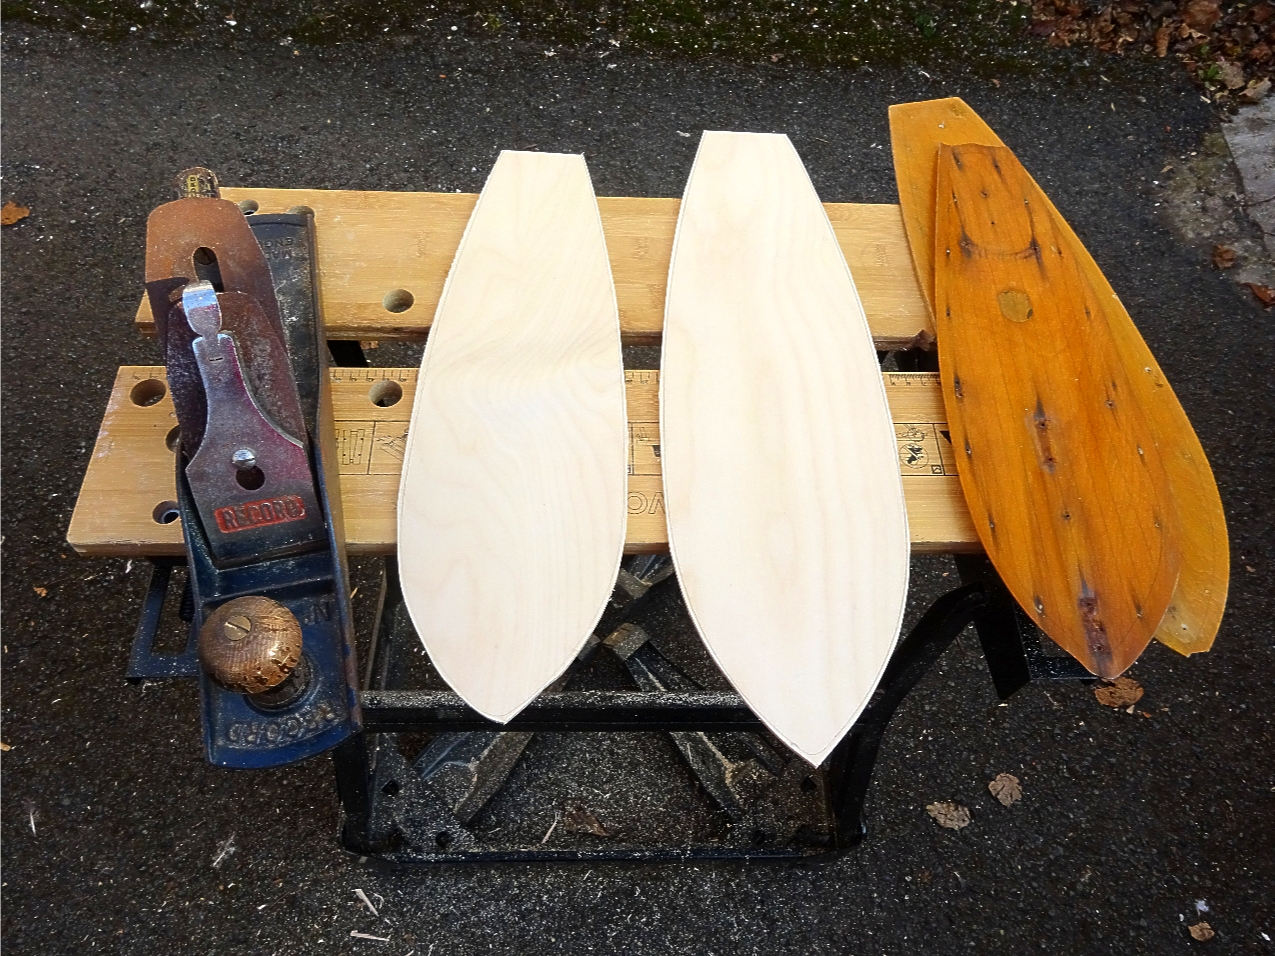
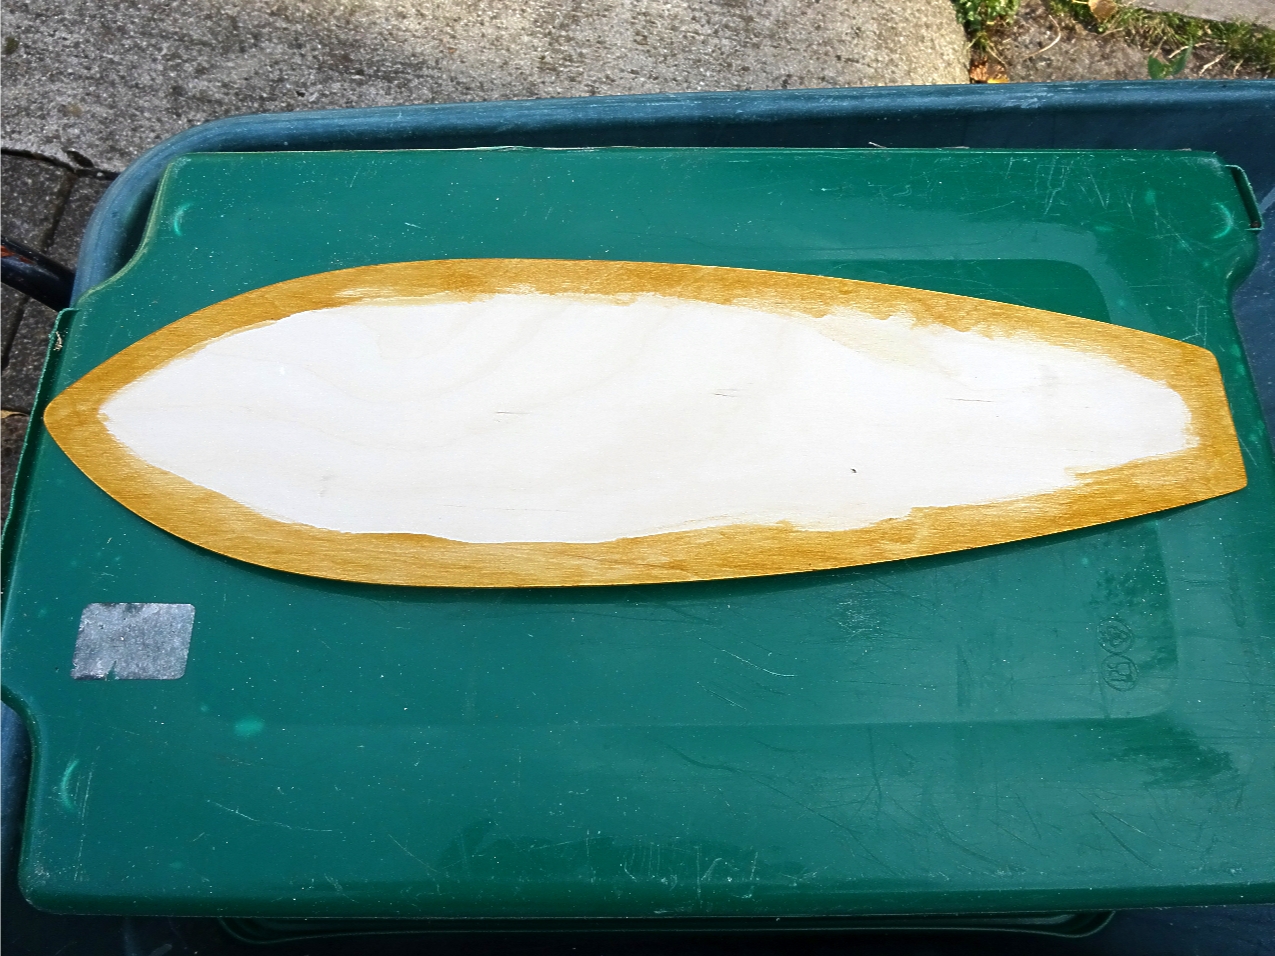
Take the cut-out and carefully with the jigsaw, trim the wood back to about 3-4mm from the pencil line, it does help to work from the centre of the hull side out to the ends to stop any splintering of the ply.
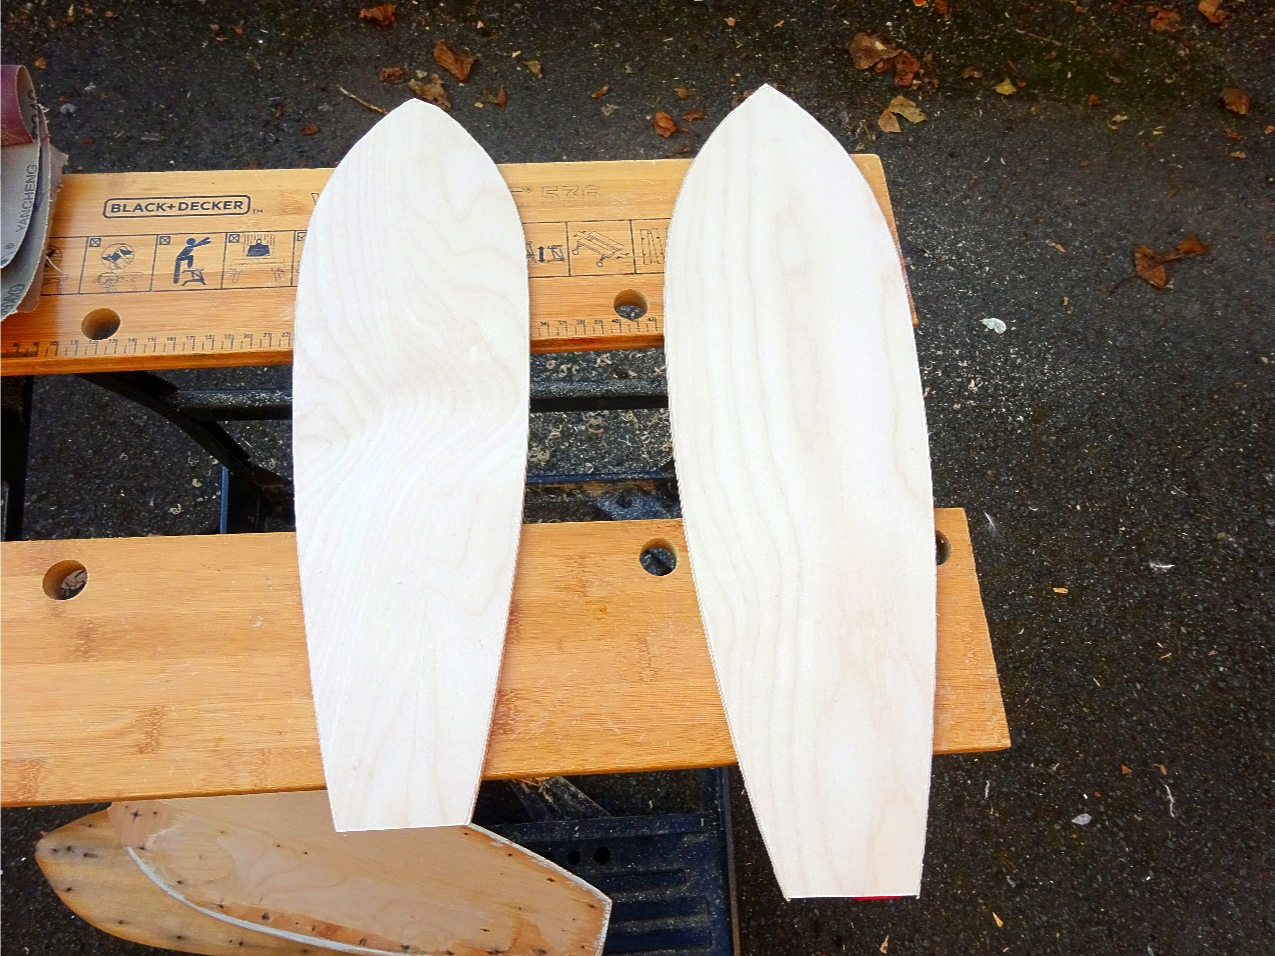
Next, using a plane, the wood surround was trimmed right back to the pencil line. If you do not have a plane handy, a flat sander will do the job.
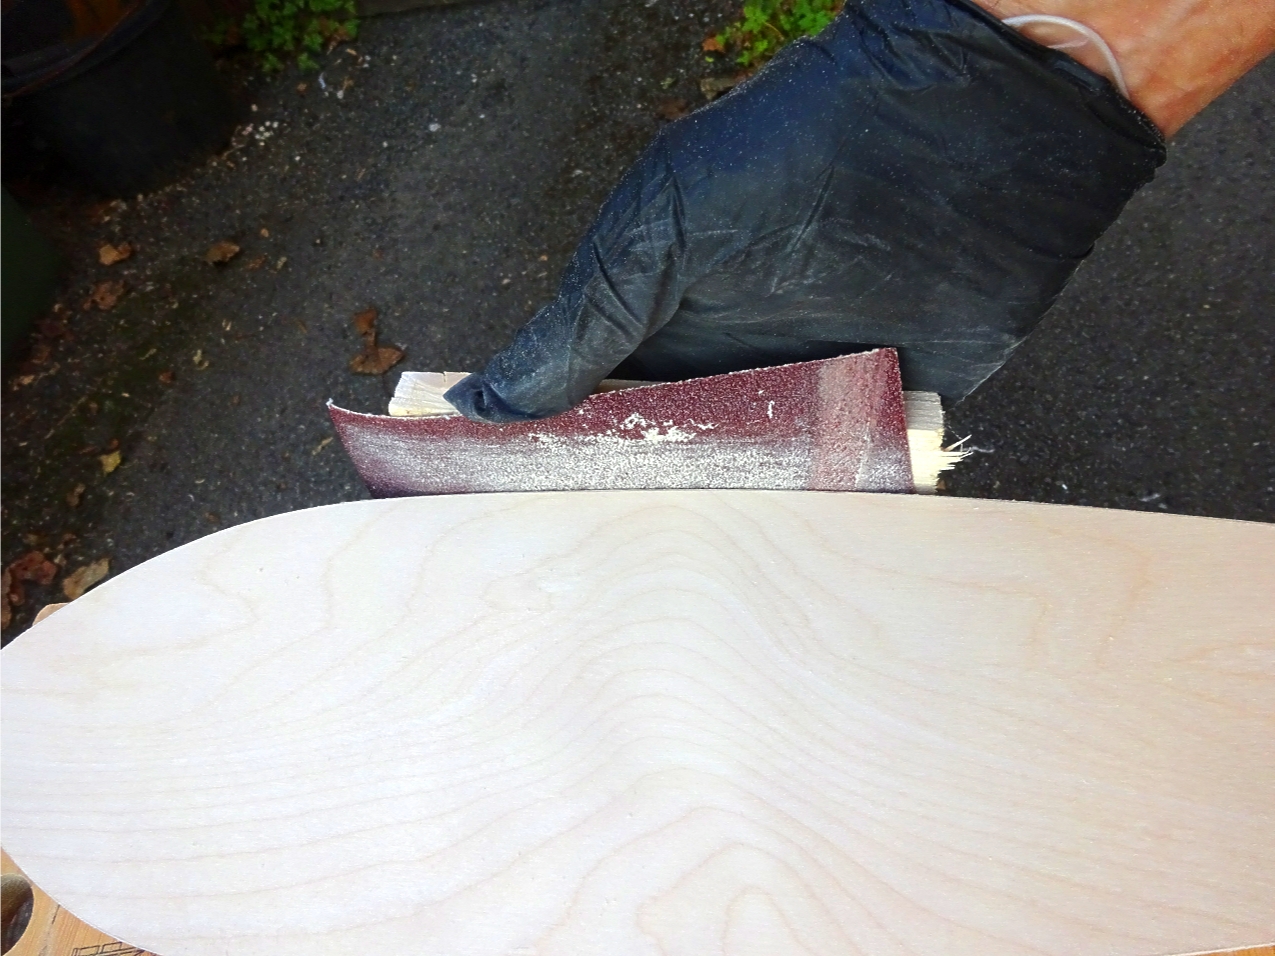
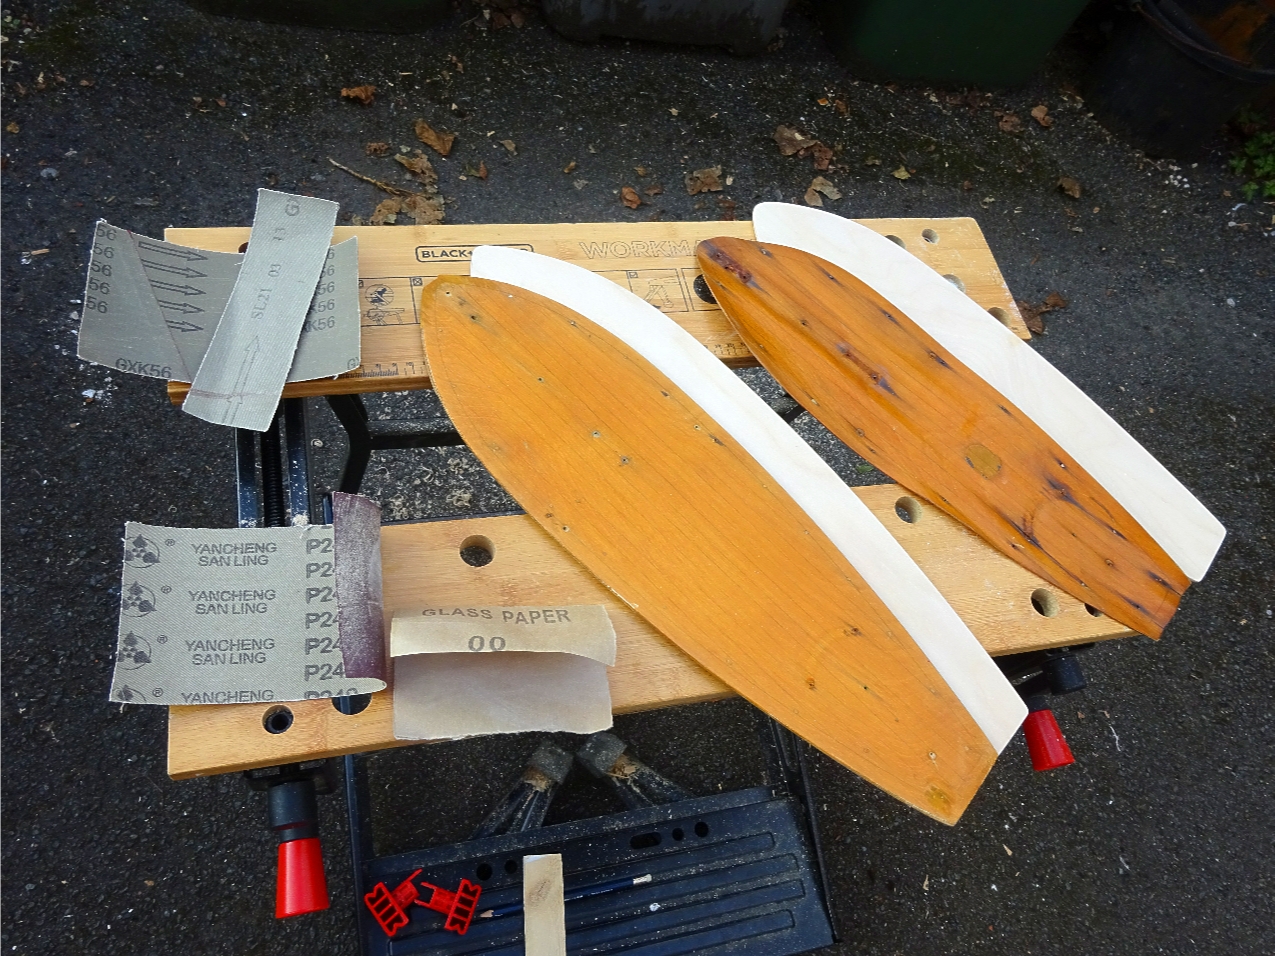
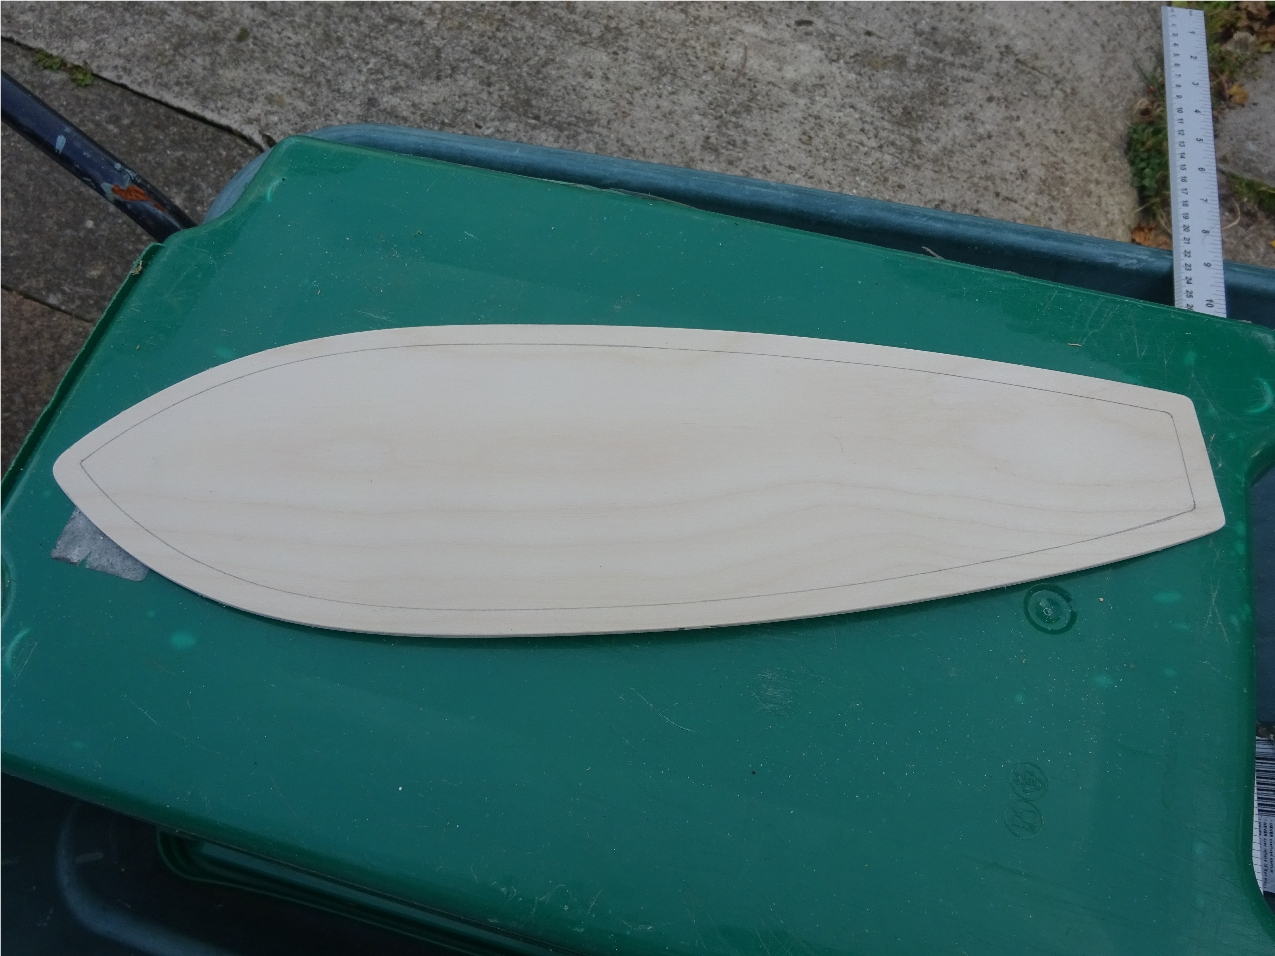
Using a range of rubbing paper starting from 80 grade down to 00 grade, go around the cut edge to put a smooth rounded profile on the cut edge.
Next the plank lines. Check with the old deck how far from the edge the circumferal line sits. Holding a pencil firmly, position the tip the same distance in from the edge and starting from the bow centre, scribe a line right down to the stern stopping to turn at the rear angle to continue across the stern and then turn again to return to the bow to join up with the start of the pencil line. If this is your first attempt at making a deck, you may not be able to do this in one continuous go so stop at the stern and reposition the pencil. If your Endeavour is an early one with a round stern then slow up at the stern to make a smooth line around the cut shape.
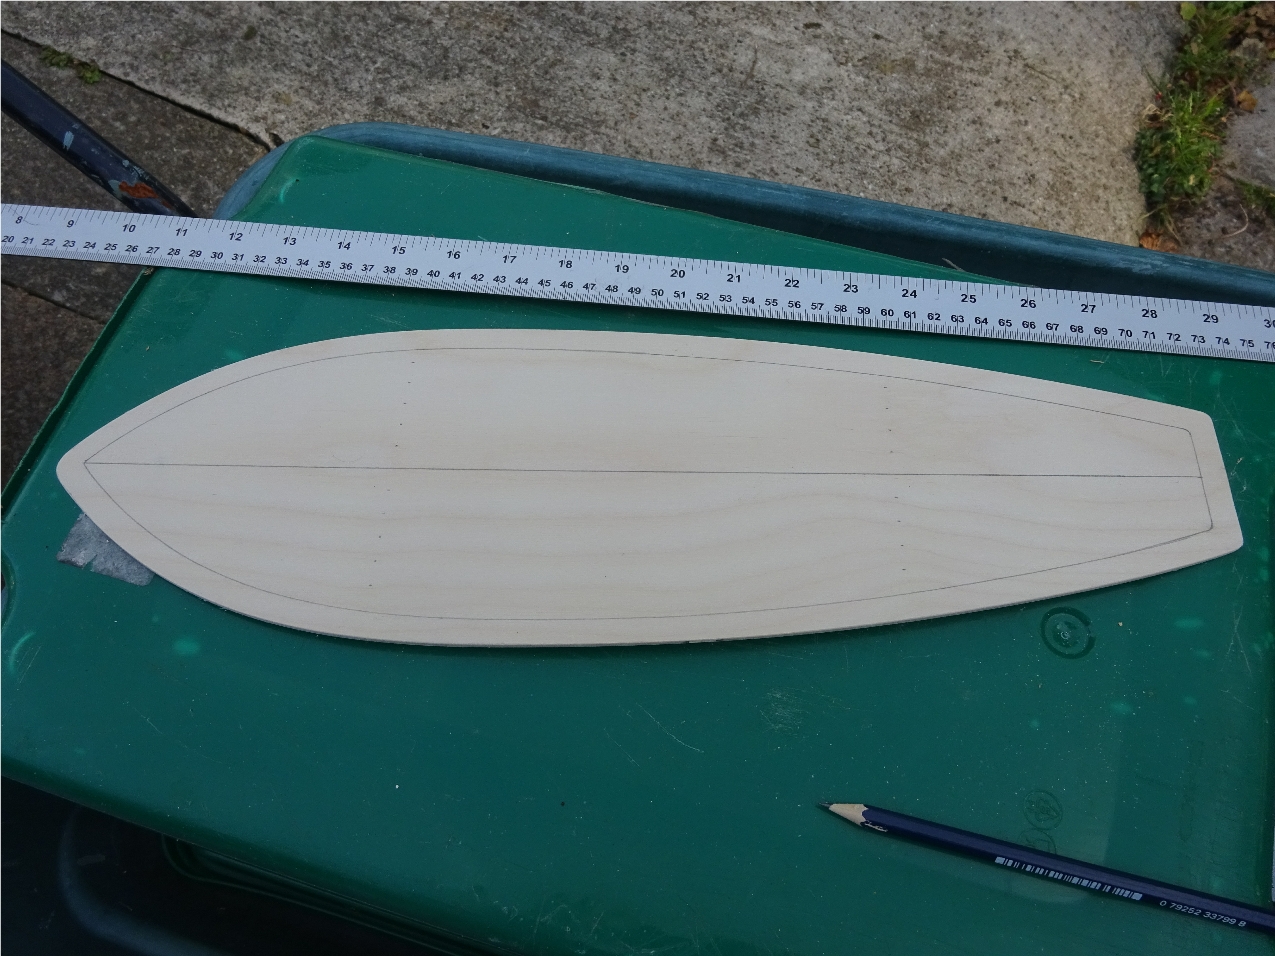
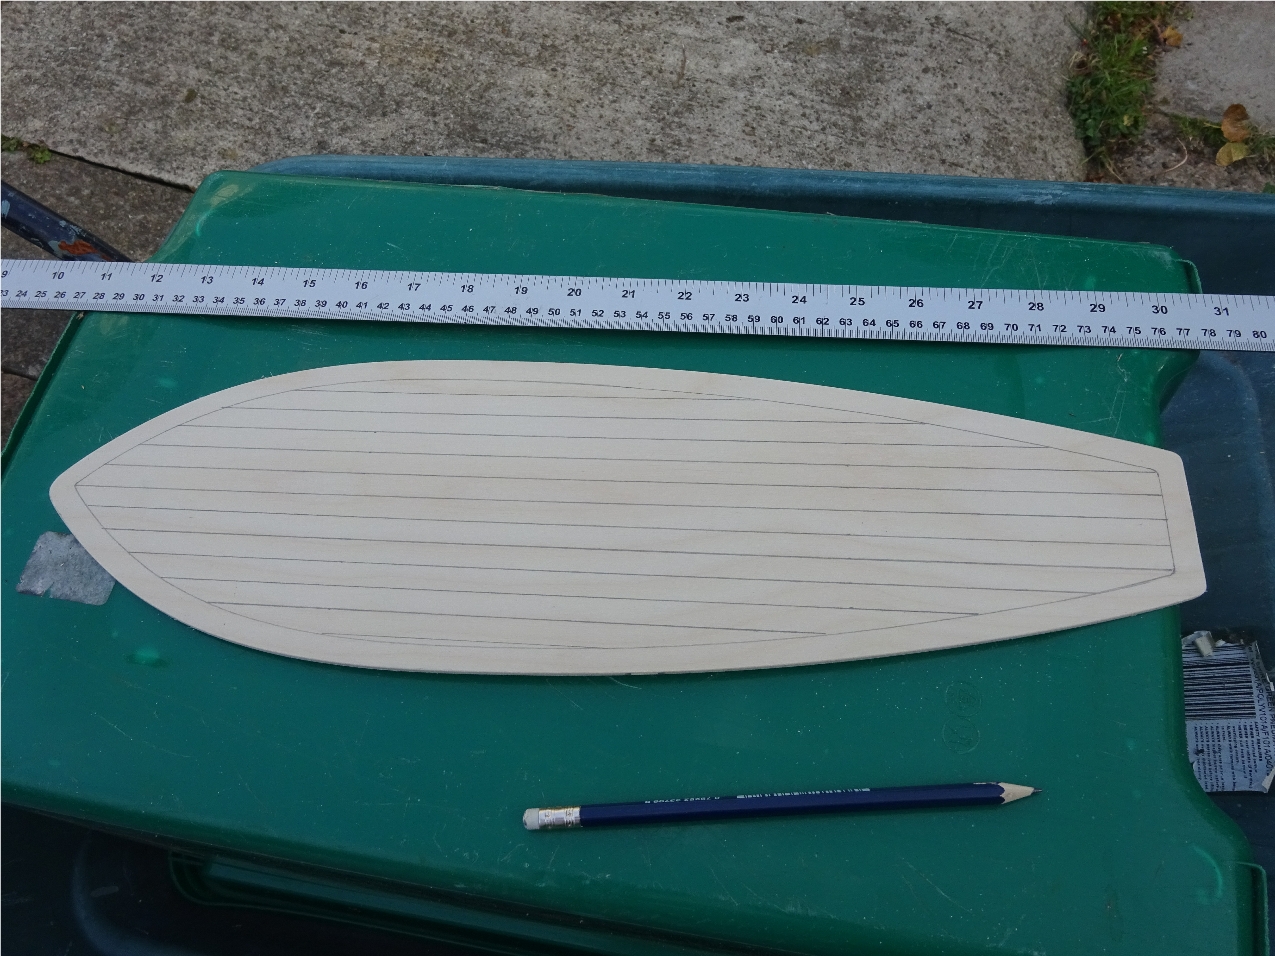
Measure across the stern and mark a centre point with the pencil, then using a straight rule, scribe a line from the circumferal line at the bow point down to the rear line, this is your centre line. Check the spacing on the old deck for the plank lines and then use this measurement for marking out from the centre line on both sides front and rear as a guide and then draw the lines.
Before re-fitting the deck, go around the underside edge with a coat of shellac being careful not to get any on the deck face. This is so that when the deck is in place the staining will go right up to the hull side. Leave to dry, it doesn't take long.
Rudder version: If you had a rudder fitted, a hole will have to be drilled in the deck to allow the tiller rod through. Using the original deck as a template, place over the new deck with an equal overhang all around and make a mark through the rudder hole, then place the deck on a firm surface and drill a 2mm hole at this mark.
Have the deck pins ready, 13mm panel pins, check how the originals were spaced and the distance from the edge. To hold the deck steady during the process, tap pins front and rear through the deck so the point just sticks out. Go around the hull face with some wood glue, then position the deck over the hull and sit it with an equal overhang all around, press down so the two pins hold it firm. Rudder version: If a rudder was fitted, line up the hole in the hull and deck by using the tiller rod before pressing into position. Starting from the centre of one side working forwards and rearwards, tap in the deck pins at your chosen spacing, continue until finished, the pins will then have to be countersunk with an appropriate punch. Wipe away any excess glue from the underside. Skim over the countersunk pins with some wood filler to hide their presence, later factory models used putty to do this. Leave to dry. As an alternative to countersinking steel pins, use brass pins and leave them flush with the deck, as in the photo below.

Next is to stain and varnish the deck. The factory described the coating as "Golden Varnish" and having come up with a good way of doing this, here is how to do it.
Apply two coats of shellac. Shellac can be obtained ready mixed such as "Button Shellac" or you can make your own but it can work out expensive if you are not making a large amount, this is done by mixing dark shellac flakes with denatured alcohol at a specified ratio, usually 4 parts alcohol to 1 part flakes. This can be applied by brush or a fine, fluff free piece of cloth. Leave the shellac to dry between coats, you may find that fibres in the wood stick out after applying the shellac, if this is the case then rub them down with 00 rubbing paper, (Flower paper). Run some masking tape around the top hull edge under the deck to protect from any varnish drips. The deck will need two coats of yacht varnish which has a built-in yellowish tinge to it.
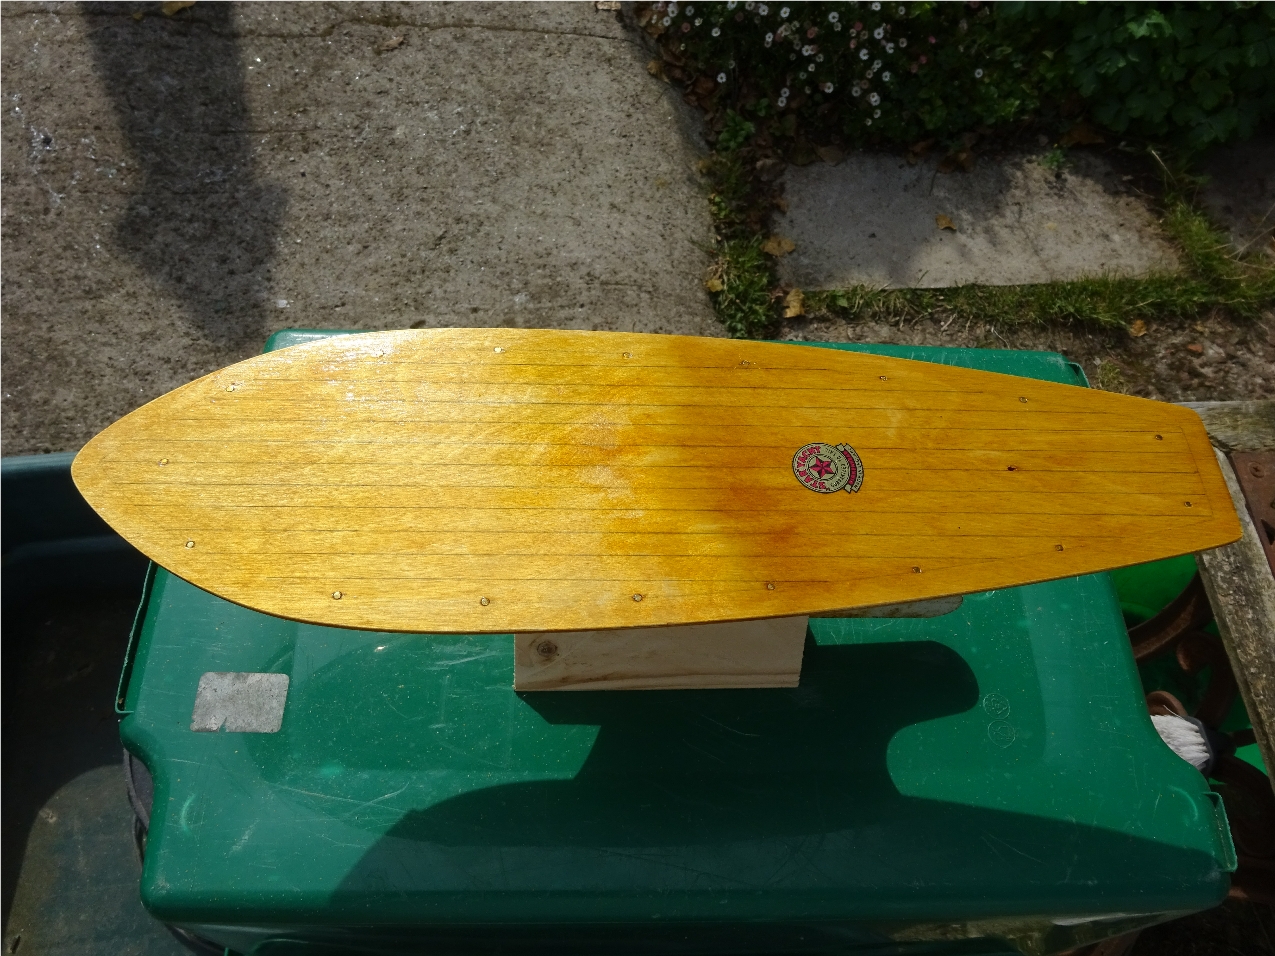
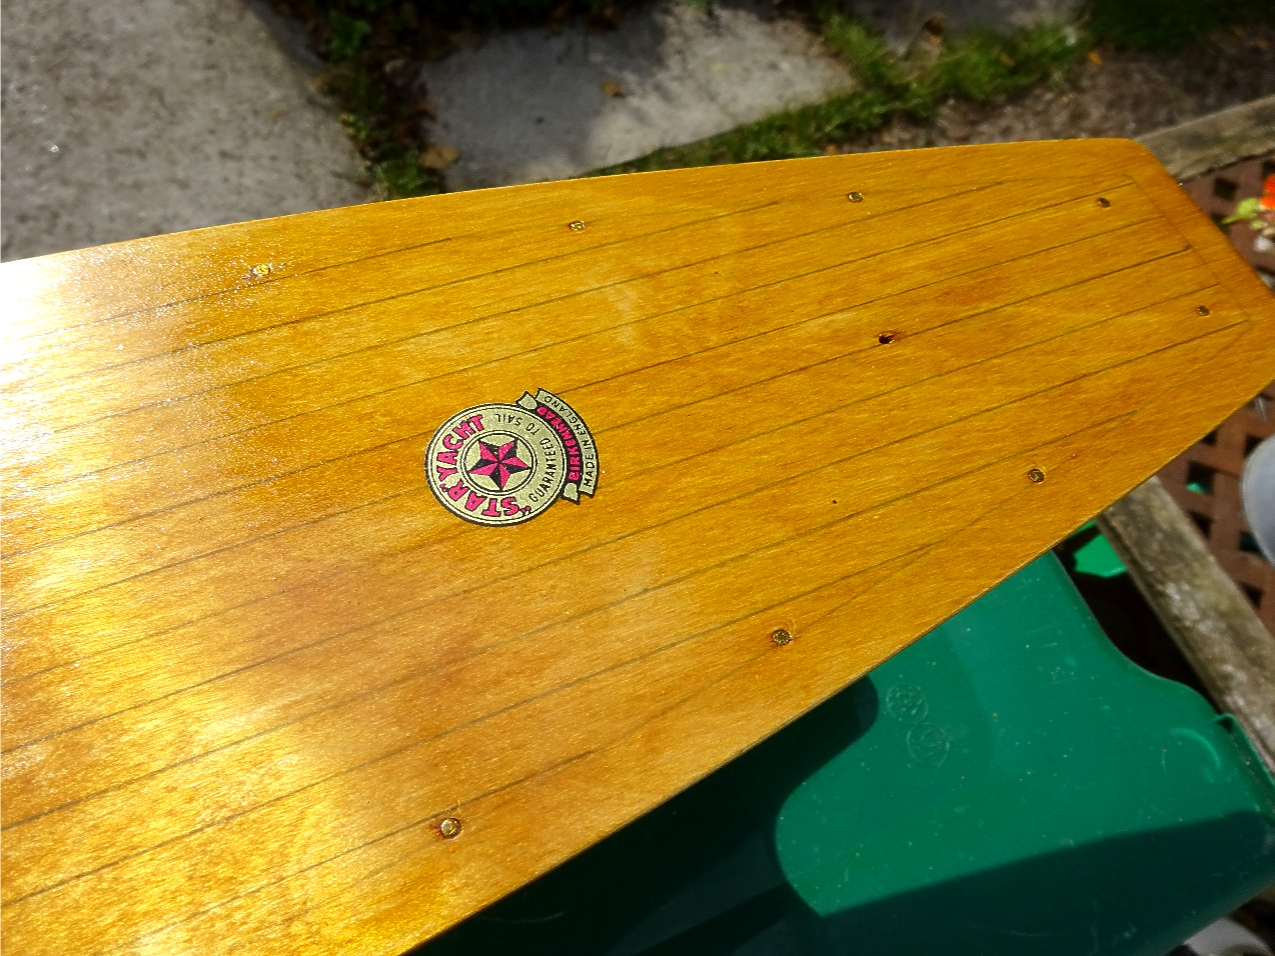
After the first coat is dry, apply your deck badge transfer, leave to thoroughly dry and then apply a second coat of varnish. Always travel in a front to rear direction with the varnish brush, make sure that you coat the underside of the deck edge to make it waterproof. When dry, remove the masking tape. You may need to leave the hull for a day or two to let the varnish harden up.
Using the old deck as a template, measure, mark and drill 0.5mm holes for the deck furniture. Fit the mounts in place with the round-headed brass screws, then the screw eyes with the brass washers beneath.
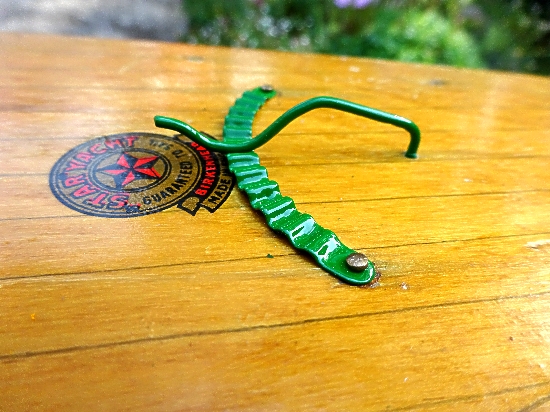
Rudder version: If there was a rudder and steering rack, fit them now using two pins to hold the rack in place, push the tiller rod up through the deck and bend it forward to make a friction fit against the rack. For the smaller MK/1 and MK/2, push the rudder up through the deck and bend the tiller rod forward.
Fit the mast and spars in place along with the sails then the rigging, don't forget to add a drop of PVA glue to any cut ends on the rigging cord to stop any fraying.