How to make deck staples for Solid Yachts
Making the staples.
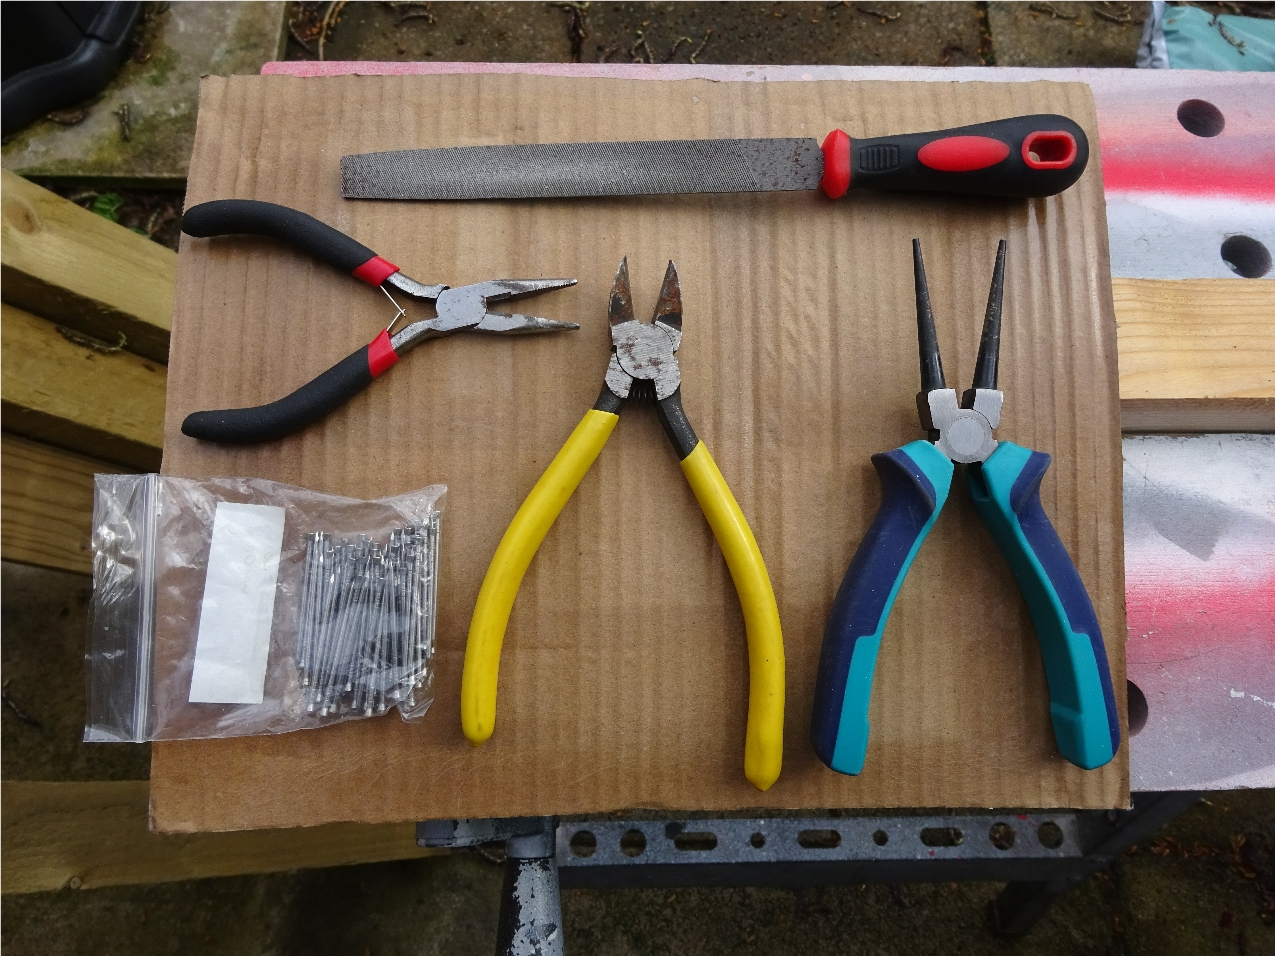
These are the tools you will need;
Round nose pliers, sturdy wire cutters, pliers and a small fine file.
Materials; 40 mm stainless steel panel pins or plain steel panel pins for originality.
1) ** Please take care as there will be
bits flying off and sharp edges.**
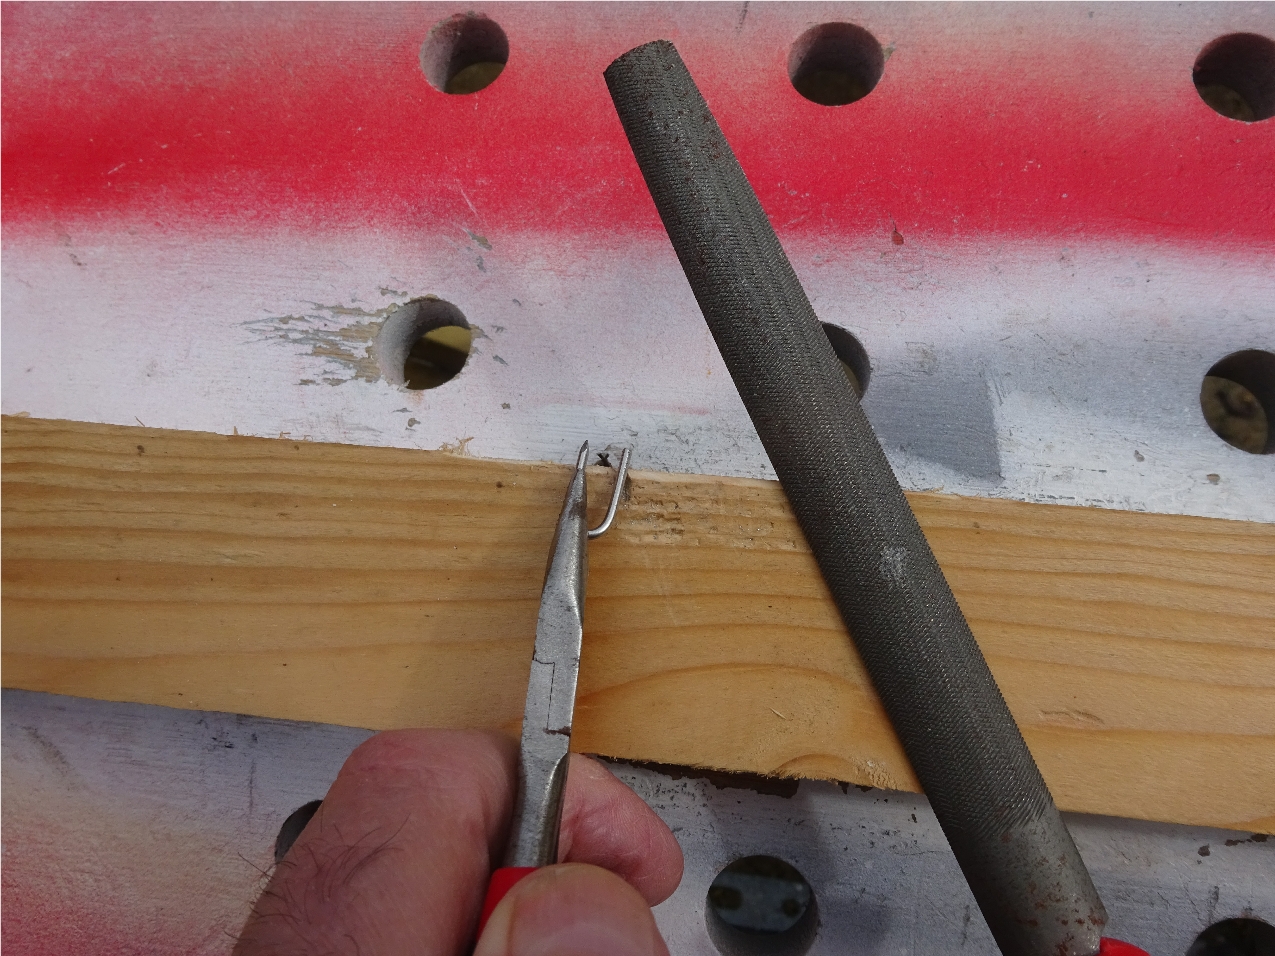
2) For the first time you do this, mark the panel pin about 10 - 12mm from the
pointed end, place your round nosed pliers after this mark and bend the pin
around the pliers to get a "U" shape. Use the conical shape of the pliers to
match the curve of the original staple. The spacing for the centre of the
pointed ends should be 5.5mm for early yachts and 6 - 7mm for later, the overall length
is between 15 - 17mm. If you are replacing into the original holes, use the
longer measurement to get a bite into fresh wood.

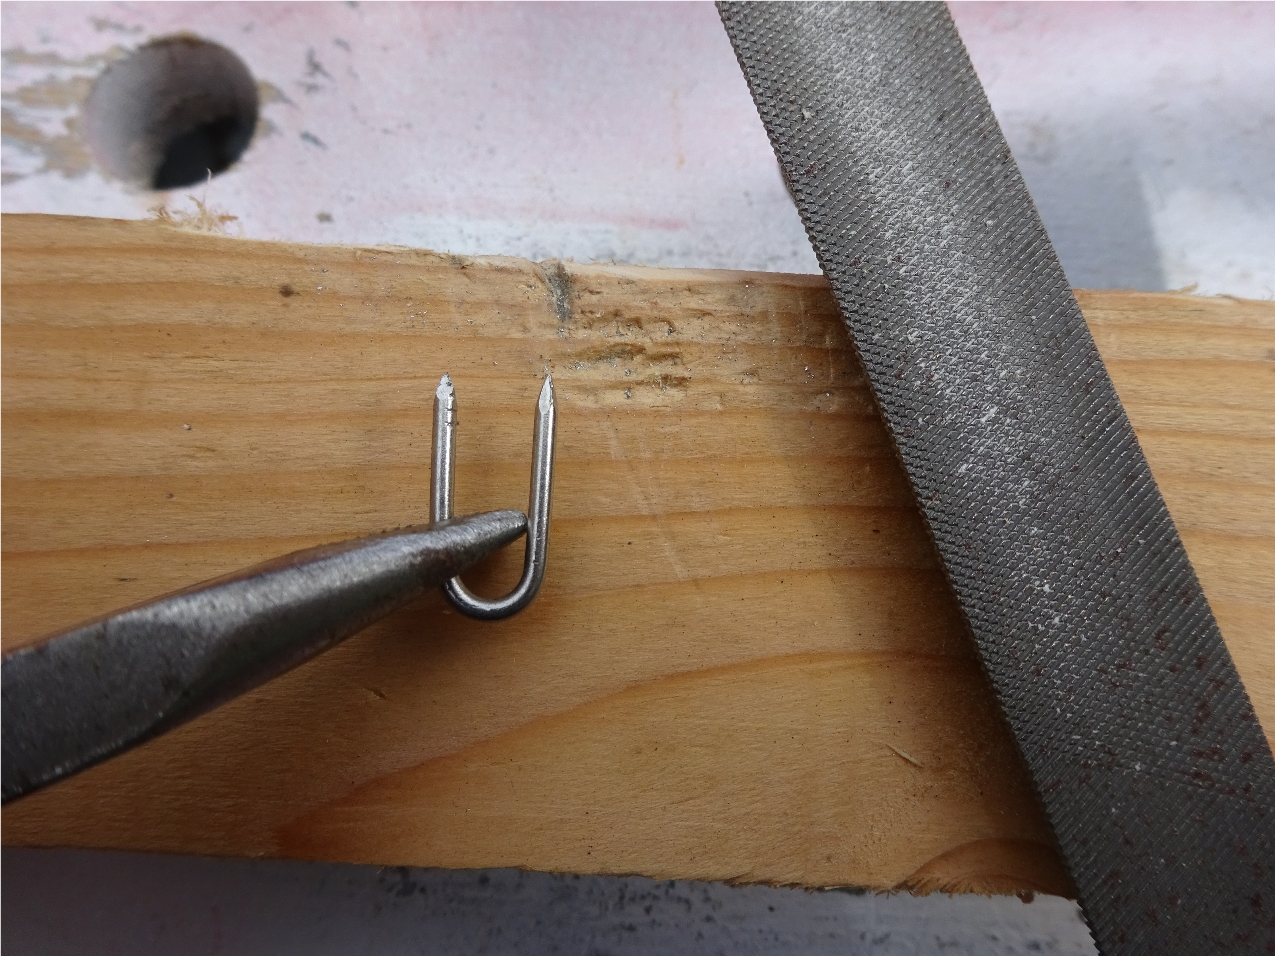
3) Using the wire cutters, trim the panel pin to the same length as the pointed
end, **Caution** wear eye protection and with the pin held away and downwards as
the off cut will shoot off when cut.

4) Holding the staple firmly over the edge of a workbench or block of wood, use the flat file to shape a flat on 4 sides to mirror the pointed end, don't worry if the sides of the staple are slightly different lengths as they won't show when fitted. Any minor adjustments to the width and shape can be made with the pliers. I make a small groove in the edge of a block of wood to fix the staple in place when filing.
The finished item.
5) When fitting a staple back into a new position, mark with a pencil then use a spike or bradawl to pierce the deck first so as to avoid slippage and marking of the paint. Check that the staple is vertical several times as you knock it home with a hammer.